Are you struggling with lagging programs? If your computer is taking a while to process operations within an app like photoshop, it may be time for some cleanup.
If you take to the internet and research what’s wrong, the chances are good that your results will say something like “scratch disk full mac”. A full scratch disk is one of the most common causes of slow load times for your favorite software programs and apps.
Well, now you know the cause of the problem. But how do we fix it? Well, that’s where we come in.
Consider this article your go-to guide on how to clear out your Mac scratch disk when it’s full. Even if you’re not a computer genius you’ll be able to use our step-by-step instructions to get your Mac up and running again.
So, read along with us as we run down these quick and easy solutions for you.
Let’s get started!
What Is Your Scratch Disk?
Whenever you’re using active applications on your Mac there are temporary files stored within the computer’s memory. These temporary files are stored on your computer’s RAM. However, this process is a little different for apps like Photoshop.
When you’re working on a project in Photoshop, those files tend to be pretty large. This is because Photoshop images usually have a lot of detail and effects. Photoshop projects are also typically high-resolution images.
As a result, Photoshop projects require some extra space. That’s why after your Mac’s RAM is full, Photoshop will write data to one particular hard disk within your computer’s memory. This disk is known as your scratch disk.
What Does the “Scratch Disk Full Mac” Error Mean?
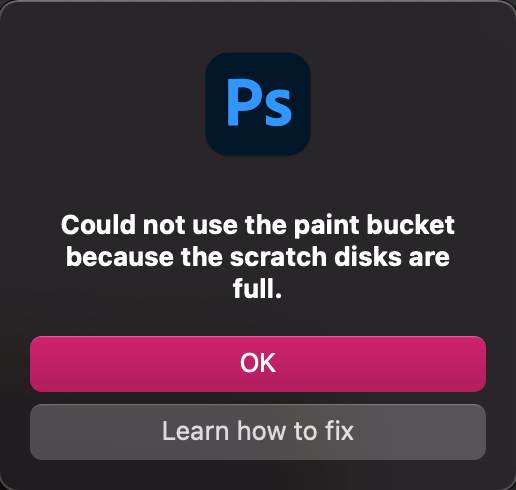
As you’re working in Photoshop, the app is creating temporary files. Everything you work on is temporarily stored in a Photoshop file known as a “cache file”. Cache files are there so you can quickly access previous versions of your work.
Have you ever had your computer spontaneously restart in the middle of a project? This is when cache files come in handy. They’re the reason you can reopen Photoshop and grab an older version of your work without having to start over from scratch.
These cache files help Photoshop run more smoothly. But, these files are big. They can accumulate quickly and take up gigabytes worth of storage. As more of these files pile up, your hard drive fills up.
Over time, this can affect your computer’s performance. And, it can ultimately result in the dreaded “scratch disk full mac” error.
Another way you can get this error is by not keeping a watchful eye on your temporary files. When you’re done using Photoshop you should make a habit of clearing out any temporary files created. But, only do this when you’re done working on a particular project.
We wouldn’t want you to log in to Photoshop looking for a particular file only to find that it’s gone.
Photoshop, like other programs, should periodically clear out temporary files. It will clear them from your Mac’s RAM and scratch disk. But, sometimes it doesn’t work that way.
Any time you force quit Photoshop, or it crashes while you’re using it, those temporary files remain. As a result, they can accumulate and take up valuable storage space over time.
How to Clear Your Scratch Disk
If you start to experience scratch disk errors with Photoshop, not to worry. It’s a relatively simple fix. There are four different ways you can resolve this issue.
Let’s take a look at each of them so you can find the one that works best for you.
1. Clear Your Cache
Remember those cache files we talked about? You can go in and clear them out of Photoshop. The steps are simple.
In order to clear your scratch disk on photoshop you’ll need to Launch Photoshop and Open A Project. Next, navigate through the menus. You’re going to want to go to Edit > Purge > All.

Selecting this option will clear all of your Photoshop cache files. Click “OK” to confirm. Repeat these steps for other saved projects.
Once you’re done, you can check if that resolves your scratch disk error.
2. Make Room on Your Mac’s Storage
Another way to clear the scratch disk error is to free up some disk space. This is one of the most common solutions since the “scratch disk” error usually pops up when your Mac is low on disk space.
There are several different ways you can make room on your Mac’s storage. You can delete duplicate files, clear browser caches, empty the trash on your desktop, and remove unused software apps.
Navigating through your computer and deleting all of these files one by one is pretty simple. But it can be tedious. The good news is that there’s an easier way to clear your hard disk storage.
There are apps available through the Apple Store that help you handle clearing out files like this. One particular example is called MacKeeper. You can check out their app or find another one you like.
Regardless of which app you use, it will be much quicker and easier than deleting all of the files yourself.
3. Relocate Your Scratch Disk
You can change the location of Photoshop’s scratch disk. One way to save storage is to do this by relocating the scratch disk to an external hard drive.
Once you open Photoshop you can navigate through the main menu. Click Photoshop on the menu bar and then navigate to Preferences > Scratch Disks. From there, you can remap your Photoshop scratch disk to an external hard drive you have connected to your computer.
Once you map your scratch disk to the new drive, click “OK” to confirm.
4. Delete Your Photoshop Temporary Files
Before you go ahead and delete your temp files make sure you save any ongoing projects and close the Photoshop app.
Next, if you want to delete your photoshop temp files thanopen a new Finder window, click Go on your Mac’s menu bar and select “Go to folder”. Type “/tmp” in the dialogue box and then click “Go”.
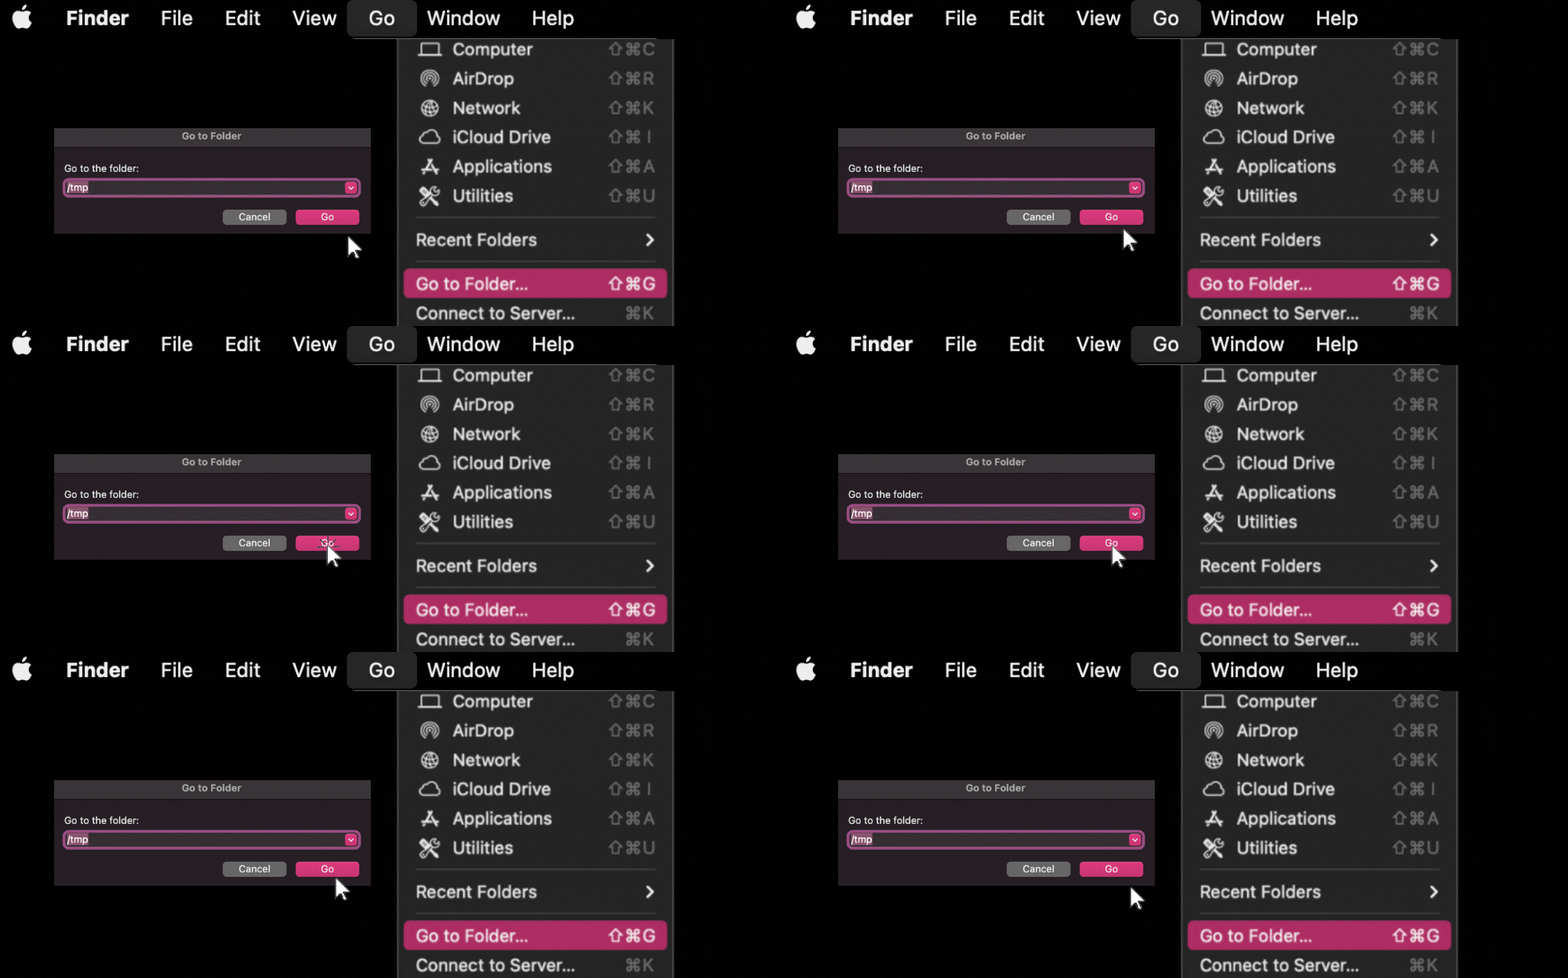
This will open a new window displaying all the temporary files stored on your Mac. Look for any files from Photoshop. They should start with “PhotoshopTemp” and have a “.tmp” file extension.
Delete as many of those temporary files as you can and then reopen Photoshop. Your “scratch disk” error should be gone.
Taking Your Scratch Disk to Scratch
These are the top four solutions for combatting the dreaded “scratch disk full mac” error. Walk through each one of these solutions to get your Photoshop back up and running. If one doesn’t work, simply go to the next one and keep trying.
If you’ve done all you can to clear your scratch disk, and you’re still getting errors, contact us as soon as you can. We’ll help you get to the bottom of what’s wrong and get your computer back to normal.


