We’ve all been there before. Your computer starts to go haywire, and you’ve tried everything. You’re at your wit’s end and don’t know what else to do.
You feel like your only choice left is to scrap this computer and go buy another one. But, before you do that, there’s one last thing you should try. A factory reset may just be the thing to save your MacBook.
This article will walk you through the step-by-step instructions on how to factory reset Macbook air. So, read along with us until the end. You may also want to get your pen and pad out to take some notes.
You’re going to want to refer back to this later. Let’s get started.
Before You Do A Factory Reset
As we said in our intro, a factory reset should be your last resort to fix your MacBook. It’s going to wipe out a lot of important information from your computer’s hard drive. There’s no going back once you do your factory reset.
That’s why it’s important to take some precautions before walking through the factory reset steps.
1. Backup or Transfer Your Files
Go through your MacBook’s File Explorer and take inventory of anything important to you. If you have projects for work or school, photos, or other important documents, you’ll need to transfer them to a safe location.
You have a few different options for external storage. You can use an external hard drive, USB drive, or cloud storage. USB drives are more popular than external hard drives these days because they can hold just as much data.
More users are starting to use cloud storage, as well. You can back-up your files on iCloud or use a third-party cloud provider like Google Drive. The choice is up to you.
Just make sure there’s enough space to store all of your stuff before your factory reset a MacBook.
2. Sign Out of iTunes
Make sure your iTunes is disconnected. If you’re using MacOS Catalina or later, you don’t need to worry about this step. You can find this information by going into your computer’s settings.
To shut down your iTunes, navigate through the menu bar. Go to Account > Authorizations > Deauthorize this computer. Once you select that option, input your Apple ID and password.
Click Deauthorize, and you are good to go.
3. Sign Out of iCloud and iMessage
If you’re using MacOS Catalina or later, navigate to the Apple menu. Then select System Preferences. Click on iCloud and then click Sign Out.
For iMessage, click on the Messages app. Navigate to Messages > Preferences. Then, click iMessage and click Sign Out.
4. Reset Your NVRAM
If your Mac is loaded with Apple Silicon, this step is unnecessary. This step is a little more complicated than the previous ones.
In order to factory reset your NVRAM, you need to shut down your MacBook. Upon rebooting, you’re going to need to hold down these four keys simultaneously: Option, Command, P, and R. Hold them down for about 20 seconds before releasing them.

Walking through these steps will clear your MacBook’s memory of certain user settings. It will also restore certain security features back to the original factory settings.
5. Unpair Bluetooth Devices
This is an optional step. If your MacBook is paired with a Bluetooth mouse, keyboard, or any other device that you plan on keeping, you can disconnect it at this time.
While this step is optional, it can help the function of your Bluetooth devices moving forward. Disconnecting Bluetooth devices during this step prevents accidental input from Bluetooth devices with separate owners.
Occasionally, if a Bluetooth device and the Macbook are within range of each other, they can automatically pair. This can occur even if the Bluetooth device and the MacBook have separate owners. Unpairing your Bluetooth devices before doing your factory reset prevents this from occurring.
You may run into some challenges if you perform this step on a Mac that doesn’t have a built-in keyboard or mouse. If you do, you’ll need to connect a keyboard or mouse via USB to complete the unpairing process.
To unpair, your devices navigate to the Apple Menu. Once you’re there, choose System Preferences. Next, you’ll want to click on Bluetooth.
From there, you’ll just bring the cursor over the device you want to unpair. As you hover over that device with your cursor, a “remove (x)” option will appear. Click that option for all of your Bluetooth devices.
Now, you’re finished unpairing. You’re ready to move to the last and final step.
Factory Reset Macbook Air
Now that you’ve taken care of all of your files, unpaired necessary devices, and reset your MacBook’s memory, you’re ready to factory reset a MacBook. As the name implies, the factory reset process will reset your MacBook to the original “out of the box” factory settings.
To do this, we’re going to erase and reinstall your Macbook OS or operating system.
Using the Disk Utility Function
The easiest way to perform this process is to use your MacBook’s Disk Utility function. The first step is to start up your MacBook in Mac Recovery mode. You can do this by powering on your Mac and holding down Command + R until you see an Apple logo.

At this point, your MacBook may prompt you for a user profile. Select a user you know the password for and enter their administrator password. From here, a “utilities” window should pop up.
Select Disk Utility from this menu and click Continue. A sidebar for Disk Utility will open up, and you’ll select Macintosh HD. If you don’t see Macintosh HD as an option, you may need to do some additional troubleshooting.
Once you select Macintosh HD, you’ll click Erase on the Disk Utility toolbar. After clicking Erase, you’ll need to enter the following information:
- Name: Macintosh HD
- Format: APFS
Click Erase again. If you see an “Erase Volume Group” button, click that instead. Once you perform this step, you may be required to enter an Apple ID and password. If you’re prompted to do so, enter that information.
After you’ve erased Macintosh HD, click any other volumes in the disk utility sidebar and erase those as well. Then, quit Disk Utility and return to the general Utilities menu.
If you want to restart your MacBook and reinstall the OS, you can select that option from the Utilities menu. If you’d like to leave your MacBook in “out of the box” format, hold Command + Q to shut your computer down instead of continuing the setup process.
A New Beginning
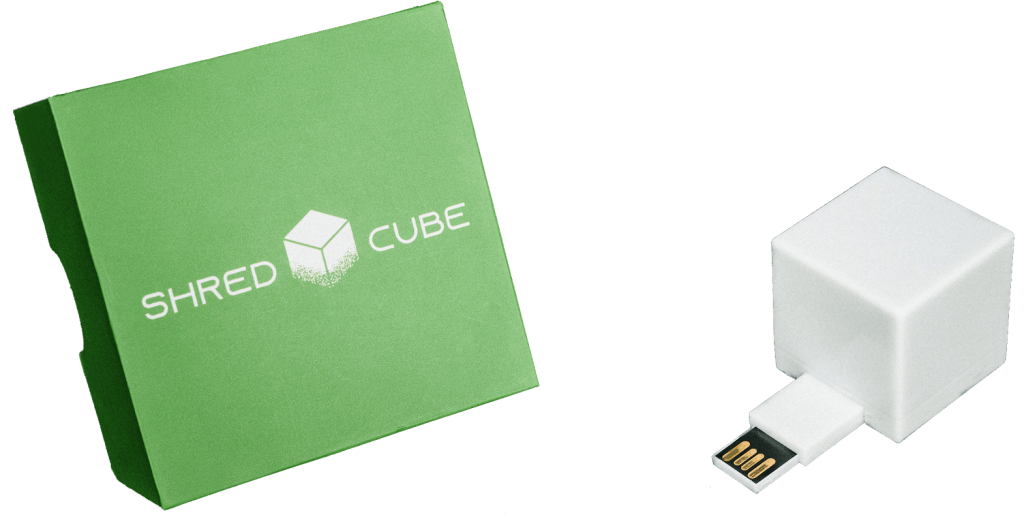
Now that you’ve successfully completed your factory reset, your MacBook has a new beginning. The reset process can be done quickly and easily if you follow the steps provided.If you run into any additional trouble, contact the pros at Shredcube. We’re more than happy to help you get your computer back in action.