With a nationwide rise in virtual school and remote offices, purchasing new PCs and Macs are at an all-time high. When you purchase your new computer, however, you should consider removing all personal data from your old computer to protect your information. Many families look to donate or recycle old computers, but if your data is not properly removed, it could be used against you.
Retrieving data off of computers that were thought to be deleted is an easy process. Before you decide to recycle that old computer, either Mac or PC, ensure that all of your personal data has been removed. Once you have removed this data from these computers, you will need to take the system approach to remove your data through the reset options available on your computer.
Backing Up Personal Data
Having a backup of your personal data is critical. While you can transfer some of your data to your new PC or Mac, you will want to put the majority in a place with lots of storage and security, such as a drive or cloud. These drives come in a variety of sizes and have the capability of storing various types and sizes of data that you may need and cannot remove.
Removing Data From A Mac Computer
The first step to removing personal data is to make sure that it is backed up to another system. Whether you want the information transferred to your new computer or to a different computer used for data storage, you want to make that transfer and verify that all the information successfully transmitted.
Factory Reset
Upon confirming that the data you intended to save transferred successfully, you will need to modify your computer with a factory reset. This process will remove any added data to the computer since the beginning of its life. It will reset back to the original operations and be free of personal data. In order to move forward with this process, complete the following:
- Put your Mac in a Restart Setting
- Shift + Option + Command + R keys must be held at the same time for a few seconds until the Apple icon appears. At that time, the system is in restore mode and referring back to initial operations and settings.
Utility Window Prompt
Once the Utility window appears, you are moving into the next phase of the factory reset. Setting in the middle of the screen, you will need to open the Disk Utility function and choose to erase the built-in hard disk. This process could take a few moments. You will be prompted with a few options where you select MacOS Extended, leaving Disk Utility. Conclude this process by choosing Reinstall MacOS, finalizing the restoration of original operations.
Removing Data From A PC
Like the Mac, you need to make sure that all of your information and data you are looking to save is transferred properly to another data system. Make sure that the transfer is complete before continuing the removal of data. Make sure that before you remove and reinstall certain programs to your new PC, you have saved the product key number to securely reinstall.
Windows
If your PC is operating under the Windows system, you will need to follow specific steps to make that factory reset. If you are under Windows 10, use the following:
- Open the Start menu
- Choose Settings
- Choose Update & Security
- Select Recovery from the menu options
- Reset This PC
- Get Started
After you have chosen the “Get Started” command, you will be prompted several command windows that ask for either yes/no answers or move to next. In the midst of these prompts, you will be asked the speed which you would like to reset your computer, quickly or thoroughly. For best practice, choose the thorough option. This process may take some additional time, but the operating system inspects and navigates through each program and folder to remove added information. Once this process is complete, your Windows PC will be restored back to original factory settings and personal data removed.
If your PC is operating under a different Windows operating system, the factory reset will work the same and found under the settings application on your computer. More information can be found here with Microsoft Support regarding the different Windows systems.
Chromebook
One of the most popular PC options today, Chromebook users have a slightly different process for data removal and a factory reset. By clicking on your account photo in your Chromebook, the settings menu will appear. Choose the following commands:
Settings:
- Advanced
- Powerwash – click image icon
- Restart initiated
Do not log back into the Chromebook as your personal data is removed at this time. The next person to log into the Chromebook will automatically be listed as the primary user and their settings will populate. You have completed the reset at this time.
Moving Forward With Your New Computer
Removing your personal data from your old computer is critical for your protection and family members who may also have data stored. Unfortunately, those who do not properly remove personal data from their old computers find themselves in stressful situations where their identity could be stolen and their entire life spun upside down.
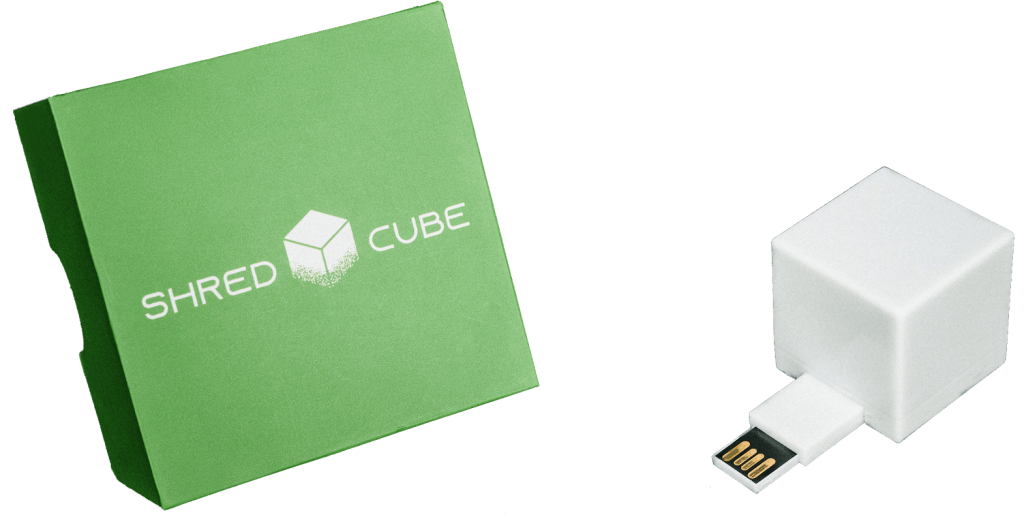
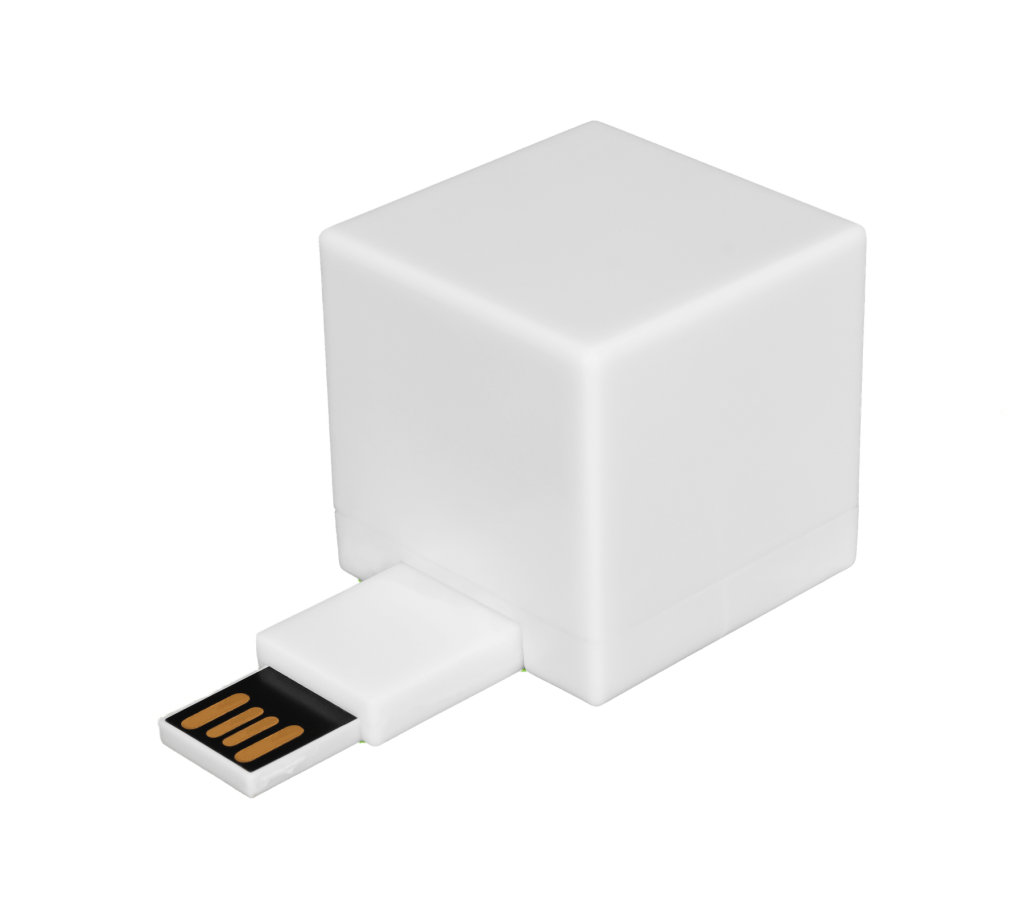
Even after a factory reset, get the best security with your Shred Cube. Although a factory reset is designed to remove your personal data, some critical information could be missed on the hard drive and exploited later. The Shred Cube guarantees that your data is removed from all corners of your computer, guaranteeing that this information is not able to be recovered. Easily install this USB file shredder to your computer and permanently remove stored data.
Give us a call today for more information or purchase your Shred Cube online today.


