Is your Mac slow? Are you suffering from freezes, crashes, reboots, or lag? Your random access memory (RAM) may be to blame.
Most Mac computers ship with around 8 GB of RAM. Old files and cluttered caches can eat away at it over time, causing your computer to slow down significantly. Unlike Windows 10 computers, it’s difficult to upgrade the RAM on your Mac.
But, before you go out and buy a brand-new computer, here are some steps you can take to free up some precious RAM.
How does RAM Work in Mac Computers?
RAM is temporary data storage that your computer uses to execute programs and process applications. If your hard drive is a long-term memory solution where you store files and folders, then RAM is short-term memory. It’s responsible for rapidly handling immediate tasks, and is much faster than traditional hard drive space. RAM is typically stored in memory modules that are socketed to your motherboard — giving them a rapid pathway to the “brains” of your computer — your CPU.
Of course, RAM isn’t perfect. It operates on random access memory as opposed to sequential memory. Hard drives, which are sequential, offer the ability to store data even when the computer is off and not currently running processes. In contrast, RAM stores data that is currently being utilized for ongoing processes and applications.
Clean Your Computer in Minutes, not hours...
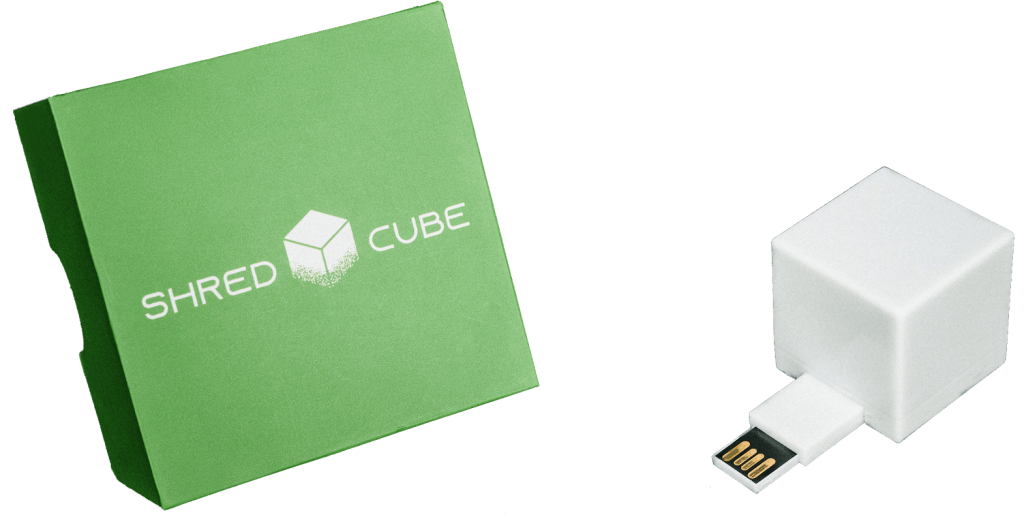
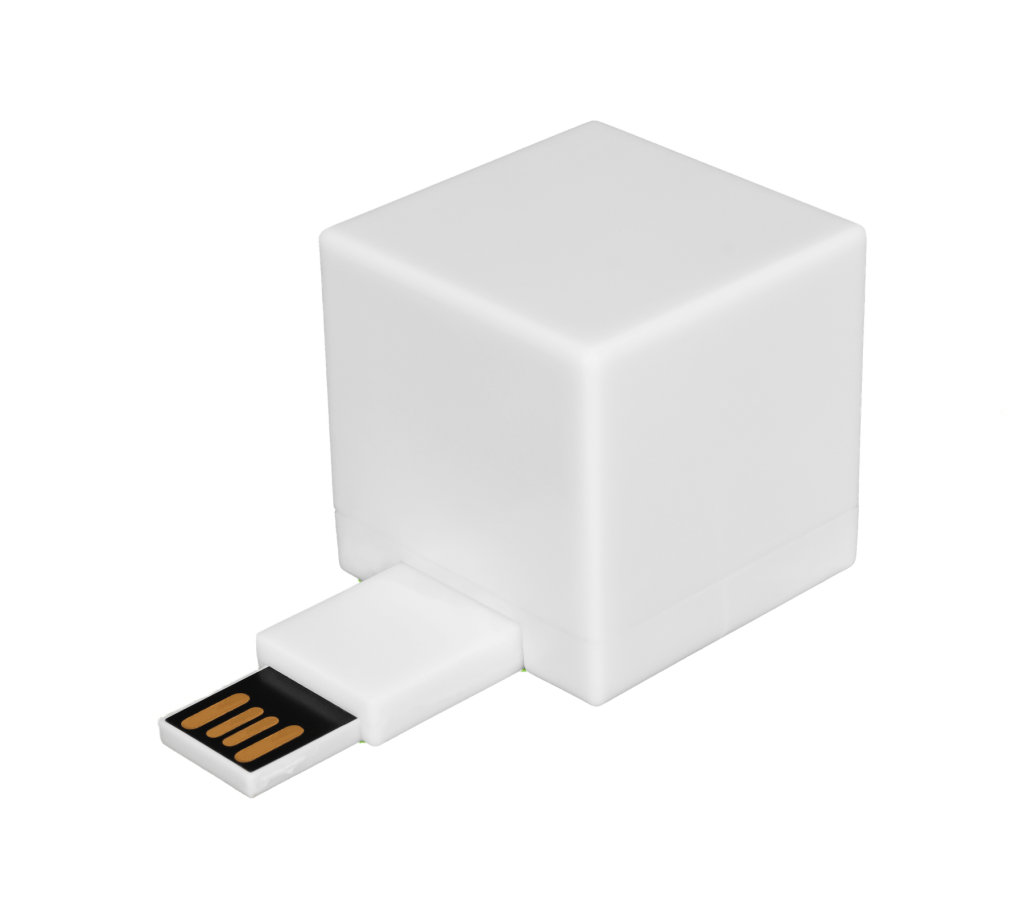
The Shred Cube wipes your unwanted computer files, that you choose, in minutes. Try it for yourself.
Get The Shred CubeWhat Does a Shortage of Mac RAM Look Like?
When you don’t have enough RAM to execute ongoing processes, you’ll trigger a Kernel Panic Screen (the Mac equivalent of the blue screen of death), which will shut down all processes and display a blue screen with white text. There are plenty of other ways that a low amount of RAM can disable your computer even if you don’t get the ever-feared BSOD, though. These include:
1. Slowness
RAM is what your computer uses to rapidly process functions, so it may eventually have to utilize your SSD for some of its processing power. RAM is much faster than your hard drive, so your computer slows down when this happens. If you feel like your device isn’t as efficient when running different apps at the same time, you may be suffering from a RAM shortage.
2. Random Freezing
Having an application freeze once in a blue moon isn’t a big deal. It happens to all of us. However, if your computer is freezing semi-regularly, you may be short on RAM — especially if it happens during memory-intensive gaming or using multiple applications simultaneously. Memory management involves understanding how to free up memory in RAM to boost CPU usage. Random freezing is one of the first signs of memory trouble.
3. Stuttering or Lag When Typing
You could have the fastest processor on the planet, but you’re going to experience massive slowdowns if your RAM is almost used up. Having a shortage can cause your computer to lag when you’re doing incredibly simple tasks like typing. Noticing lag when performing basic actions is one of the signs of a RAM shortage.
4. Crashing Apps
It can be easy to blame the app when it crashes, but the app may not be to blame. RAM shortages can cause your applications to freeze and crash since they don’t have anywhere to store their in-the-moment information.

3 Tips to Help You Free Up RAM Space
Some RAM issues are due to faulty RAM modules, but most usage issues are solved by clearing up space. Like your hard drive, RAM can become cluttered by files. You can’t directly store files on it, but you may have files on your computer that eat away at your RAM without you even noticing.
Here are a few tips to help you free up some RAM space on your Mac.
1. Disable Login Items
Your RAM doesn’t store a shred of data when your computer is off. It only stores temporary data for programs that are actively running. Every Mac has “login items” (i.e., startup programs), though. These programs start the moment you turn on your device, and pop right back up even after restarting. Since they start immediately, they also start using RAM immediately, and that can consume a good chunk of your available RAM.
To find your login items:
- Click on the Apple logo in the top left corner of your screen.
- Select System Preferences and then click Users & Groups.
- Select your primary account.
- Click Login Items at the top corner of the screen.
From here, you can identify, add, and remove login items. Remove any unnecessary login items to reserve space for those that need to be running around-the-clock, like antivirus software.
Note: You can see some of the programs that are currently running in task manager (cmd+option+escape). Open it and check for hidden running programs that aren’t in the login list. These may be malware and they could be hogging memory usage.
2. Clear Cache Files
Caching involves temporarily saving small bits of information about an app or website. It’s easiest to think of cache as landmark information. When you first visit a restaurant or shopping center, your brain remembers small landmarks along the way. Next time you go to visit that location, your brain will use those landmarks to help you find it. That’s the nature of the cache. It stores tiny parts of various applications or websites to help them load faster. So, instead of reloading an entire website, Google Chrome uses a cache to remember parts of that website to offset load times. Over time, these files can clog up your cache and put more strain on your RAM.
Technically, you can clear the memory in advanced system settings, but the easiest way to clear your cache on Mac is as follows:
- Open Finder
- Press Shift-Command-G
- Enter ~/Library/Caches in the text box
- Press Enter
- A window containing all of your files will popup
- Press Command-A to select all of the folders and files
- Press Command-Delete to delete the files and folders
3. Free Up Space
Believe it or not, the files on your hard drive can also clog RAM. Even when you delete them, small portions can linger in your system and cache. Using a permanent file shredding solution can help safely, accurately, and permanently delete files from your Mac, which can help you reduce strain on both your hard drive and your RAM. This improves system processes, clears disk space, and prevents memory leaks.
How Permanent File Shredding Works
You’re not actually completely removing files when you delete or uninstall them. That may sound strange, but dragging files to the recycling bin just removes any header references to it. This allows your computer to write over the portion of your hard drive that contained that file — but that doesn’t always happen.
If you’ve ever seen crime dramas on TV, you know that forensic scientists can recover deleted files from your computer. They’re able to do this because those files aren’t gone — your computer just doesn’t recognize them anymore. Unfortunately, those recycled files can still eat away at the hard drive and RAM space.
Permanent file shredding solutions like Shred Cube destroy source files as well as any traces of them throughout your system. This helps free up hard drive, RAM, and cache space, and remove traces of personal data to make them unrecoverable.
Improve RAM Usage With Shred Cube
RAM is used to speed up computer processes and run applications, but unnecessary files and fragments can clog it over time and lead to a slow, laggy, or freezing computer. With Shred Cube, you can permanently delete your unwanted files, freeing up your RAM in the process. Contact us to learn how Shred Cube can help you clean up your computer and achieve the best Mac performance possible.


