Almost everyone has a computer, but not everyone is a tech wizard. Computer issues can get complicated, and it can be hard to know what to do about them. Can you fix them yourself? Do you need to consult a professional?
The answer will vary depending upon the issue, but when it comes to debug dump files, you can handle it. This guide explains what they are and how to delete them.
What is a Debug Dump File?
After a computer crash, a debugging file is created to help you determine why the crash occurred. They’re incredibly useful for troubleshooting, so you can identify the problem and correct it to avoid future crashes. If you contact a tech professional for help, that person may request to see the dump files. Finding them takes a few steps:
- Open your Control Panel, choose System and Security and select System.
- Choose Advanced system settings. In the Startup and Recovery section, select Settings.
- Under Write debugging information, there’s a drop down menu that will list the debug dump files. You’ll be able to see each type and where you can find it on your computer.
From there, you’ll need to copy the location without the name of the file. If you copy and paste the whole thing, you’ll open the dump file — which you may not need to do unless a tech pro asks to see it or you want to take a look during your own troubleshooting efforts. Type Run into your search bar, then paste the location into the Run app — again, not including \MEMORY.DMP or whichever dump files you’re looking for. It will open the folder, and you’ll be able to scroll to find MEMORY.DMP.
Clean Your Computer in Minutes, not hours...
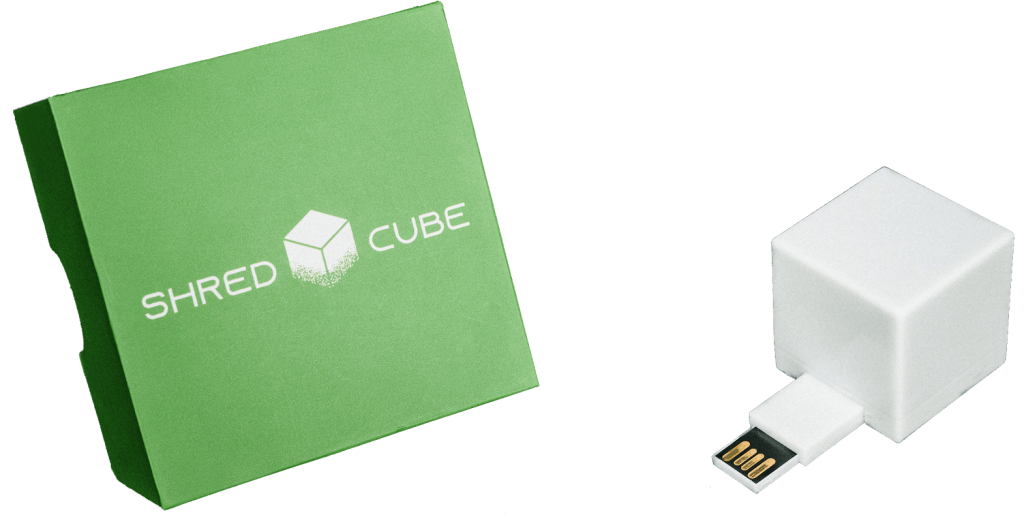
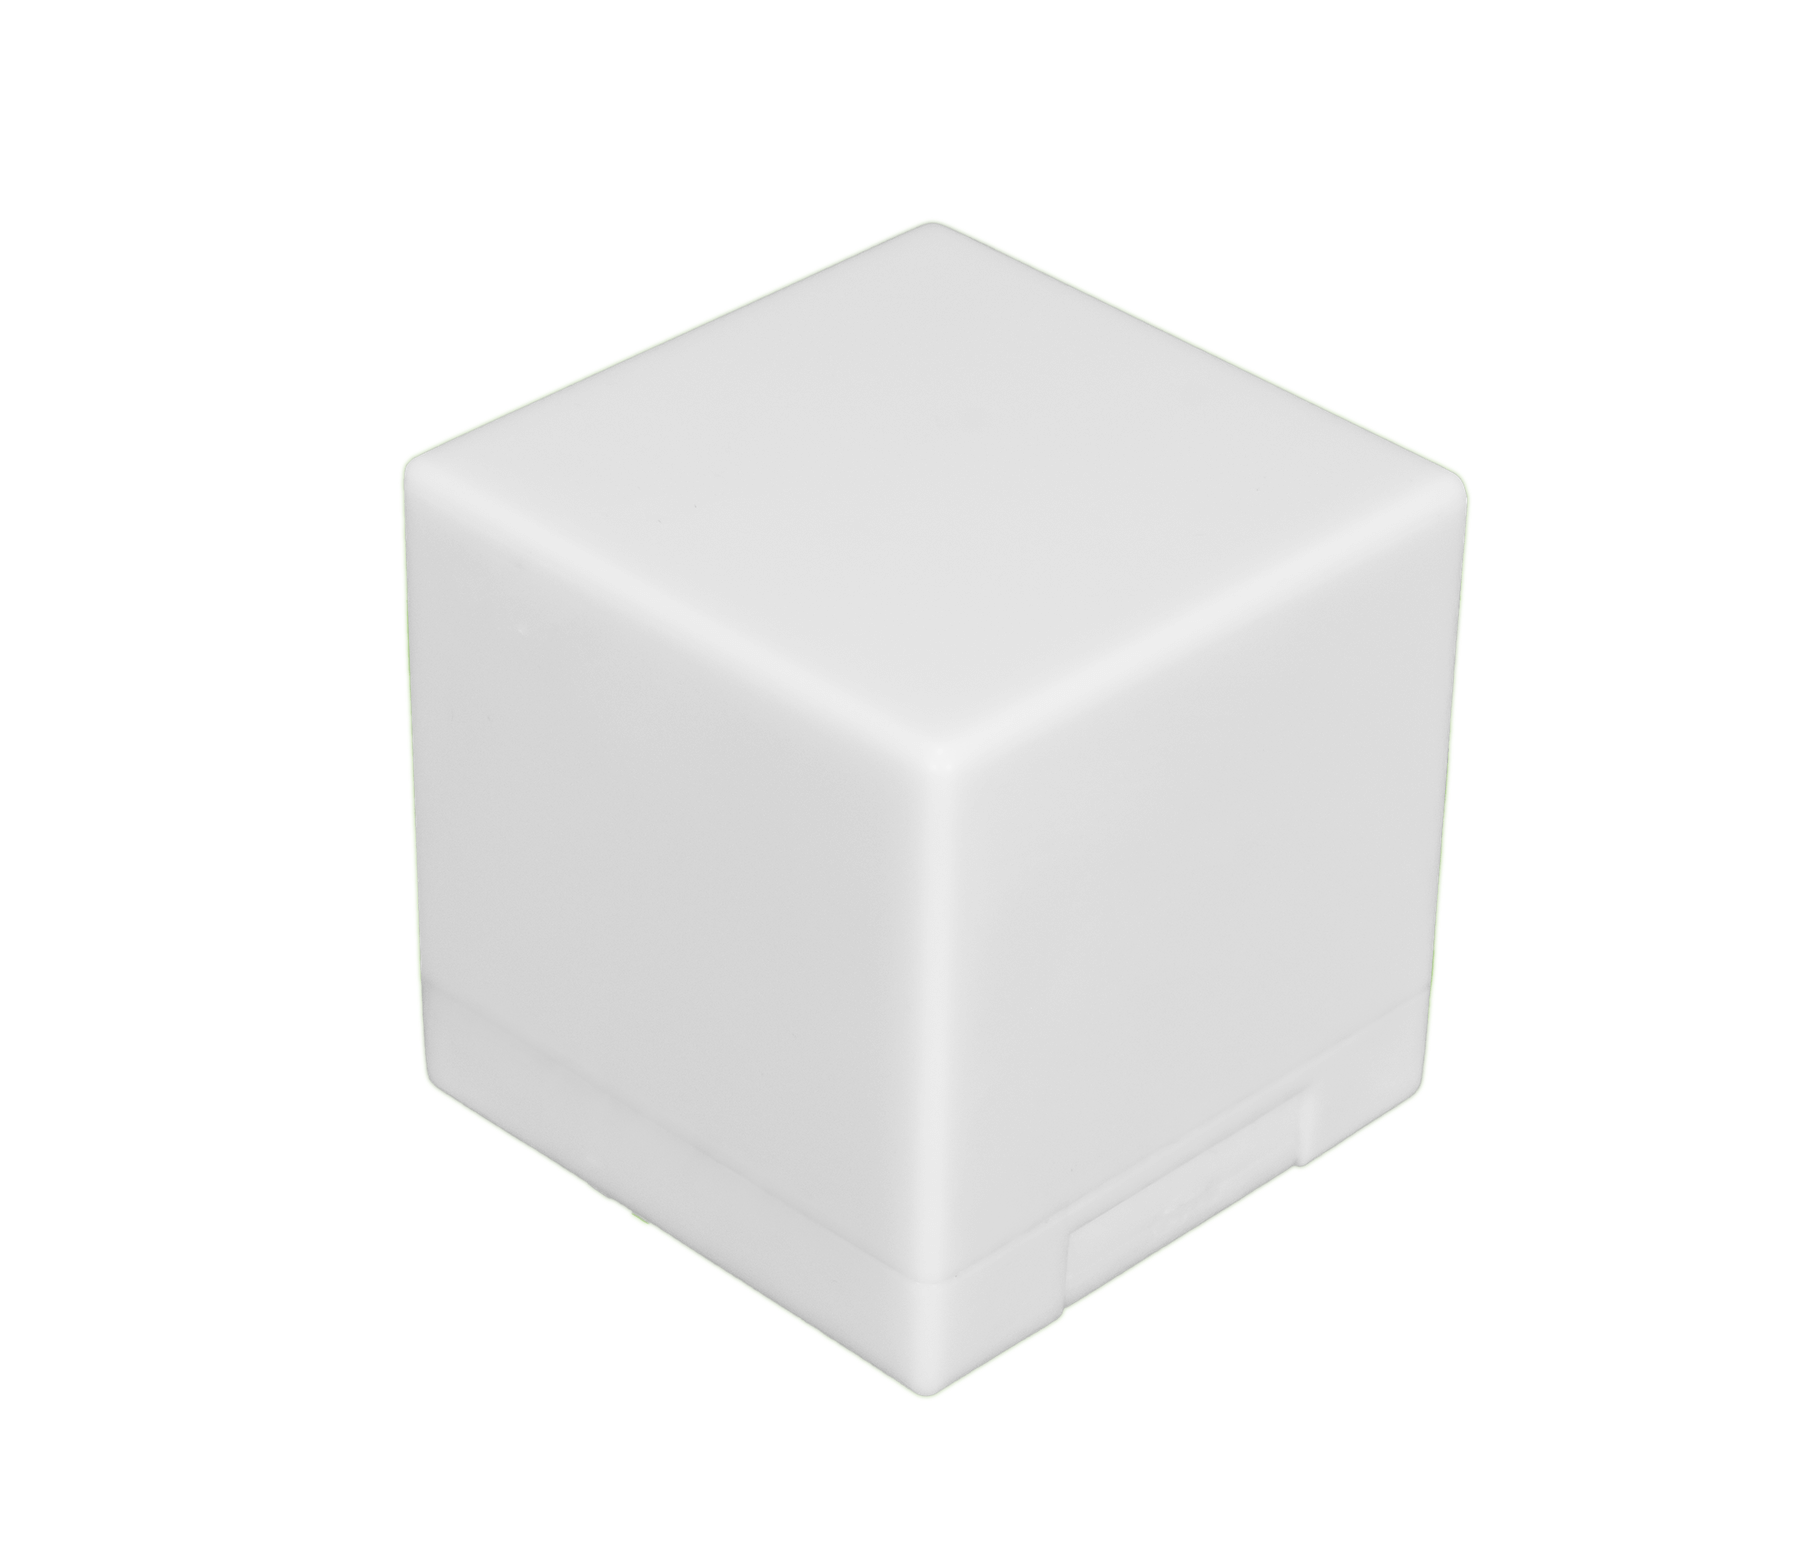
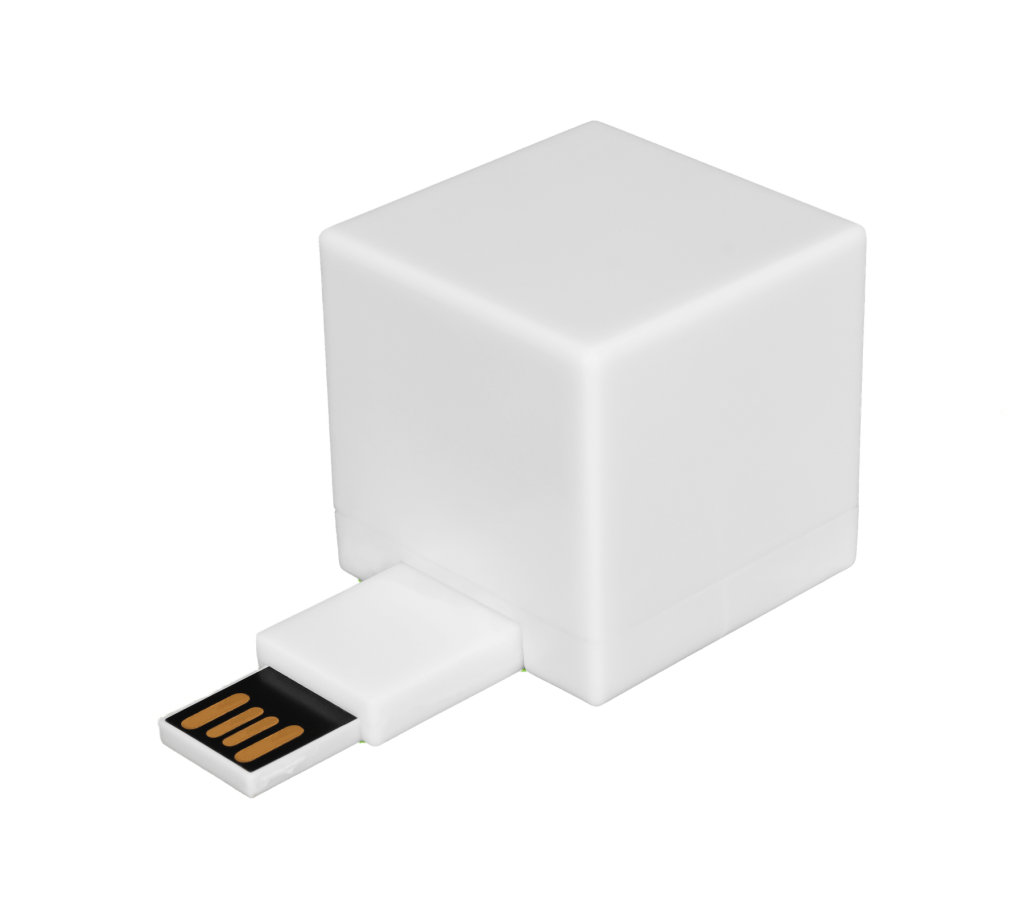
The Shred Cube wipes your unwanted computer files, that you choose, in minutes. Try it for yourself.
Get The Shred CubeHow to Delete a Debug Dump File
There are several ways to delete your dump files. If you’ve already followed the steps above to find the files, simply select the dump file from the list and choose Permanently Delete from the Delete option in the menu above.
You can also use Disk Cleanup to remove your dump files. Follow these steps:
- Type Disk Cleanup in your search box, then right click on Disk Cleanup and choose Run as administrator.
- Choose the C drive or whichever drive you’d like to clean up and click OK.
You will see a list of files to delete. Some may be automatically selected, and you can choose others. You’re looking for system error memory dump files. Check the box and click OK. Restart your computer.
If that doesn’t work for some reason, you can try the Extended Disk Cleanup utility:
- Type Command Prompt in your search box, then right click Command Prompt and choose Run as administrator.
- In the window, paste the following command: cmd.exe /c Cleanmgr /sageset:65535 & Cleanmgr /sagerun:65535 and hit Enter.
- You’ll see the Disk Cleanup window. Check the box by system error memory dump files and click OK.
From there, restart your computer and make sure the files have been deleted.
What to Watch Out For When Deleting Debug Dump Files

If you’re using Disk Cleanup to delete your dump files, you’ll come across many other files — most of which can be deleted safely. Here’s what to keep in mind:
- Files like delivery optimization files, temporary files, thumbnails, and more can be removed without causing a problem.
- There is one major exception and perhaps a few smaller considerations, depending upon how you use your computer and what’s important to you.
- The files you definitely don’t want to delete are the Windows ESD installation files.
- If you do, you won’t be able to easily reset your PC to factory settings — which you would need to do if you decide to sell your computer or get a virus and need to start over.
- There are enough other ways to free memory on your computer that you don’t need to sacrifice these files to create space.
Other considerations may include game statistics files, which are safe to delete if you don’t care about your scores and statistics for games like Solitaire. However, if you play regularly and enjoy knowing and trying to beat your top scores, you may want to hold on to those files, because deleting them will delete those statistics.
Windows update cleanup stores the old versions of the system, which would allow you to uninstall any updates down the road and revert to the older version. If that’s something you may do, you’ll want to keep Windows update cleanup files. However, if you’re happy with your updates and don’t intend to uninstall them, feel free to delete.
How Permanent File Deletion Can Help
If you’re looking to delete debug dump files and other unnecessary files, it’s probably because you’re looking to free up space and help your device run more smoothly. In that endeavor, you may be looking to get rid of many types — including old records that contain personal information like bank accounts, addresses, Social Security numbers, passwords, and more. Remember, though:
- Anything you delete on your PC isn’t really gone. A computer expert can find those files again. This may not matter so much with certain computer files, but it becomes incredibly important with your personal files and information.
- Securing your WiFi and home router is just the beginning when it comes to protecting yourself against hackers and thieves. Digital shredding is another important step.
- Like a paper shredder, a digital shredder hacks those files into pieces so small they cannot be recovered. Add your debug dump files and other unnecessary files to the digital shredder to get rid of them completely, free up space on your computer, and protect your privacy.
- While there is shredding software available, a download can put you at risk for viruses and take up space on your computer, which means you’d need to find even more files to delete to make space for it! A physical device is a better solution.
Contact Shred Cube today to speak with an expert about permanently deleting debug dump files and any personal information using a USB-based digital shredding device.


